Flow & Forms
Microsoft Forms and Microsoft Flow are two very useful software applications. They become even more powerful when used together. In this tutorial, we will show you how to connect Flow to Microsoft Forms and easily collate the responses.
Firstly, we need to build the trigger that will activate the Flow.
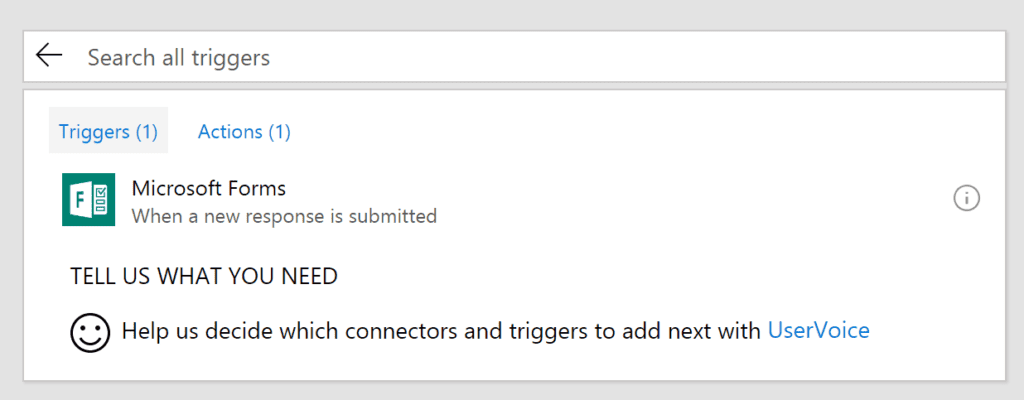
To get started with building a flow, you need to go to your Microsoft Flow page and select Create from blank. Then, select Search hundreds of connectors at the bottom of the screen. This will give you a list of all the triggers Flow offers. You will need to search for "Microsoft Forms" in order to find the right trigger: "Microsoft Forms - When a new response is submitted".
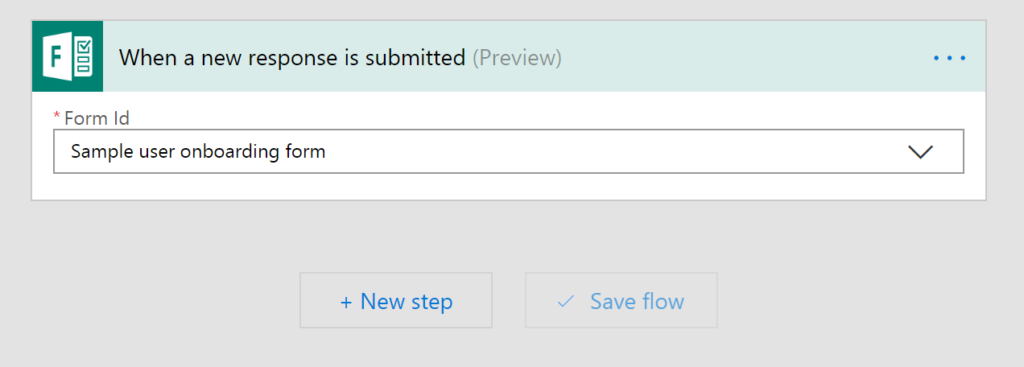
Next, select the Form that you wish to work with to start this flow. Select the dropdown under "Form Id" and hopefully you should see a list of all of the forms that you have created. Please note: you will need to create the form before you can use it in a flow.
Now that you have set up the trigger, it’s time to start a new action. This will enable you to use the form data inside your flow.
Get the data
Depending on what you want to achieve there will be different steps that you have to take. If all you want is some type of notification that data has been submitted via your Form then you don’t actually need to get the data that was submitted in the form. However, if your objective is to save the response data somewhere else, such as in a SharePoint list or spreadsheet, you’ll need to add a new 'get response' action.
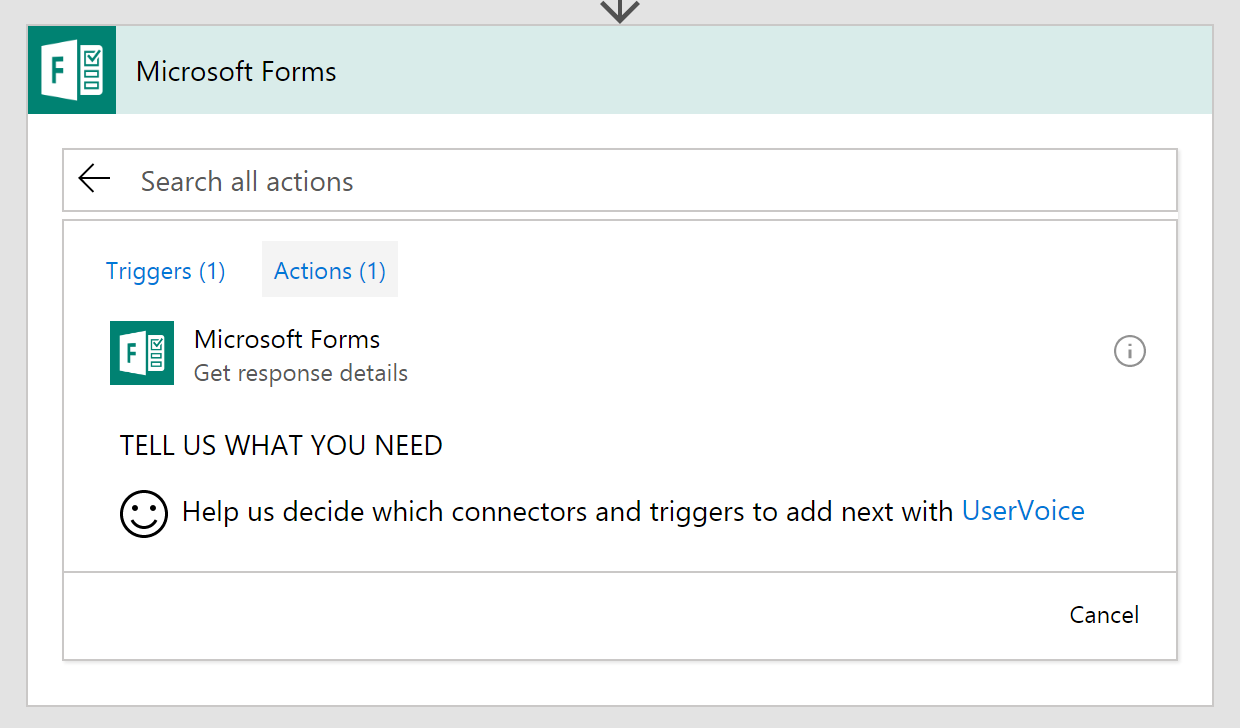
In order to find this new action, select New Step, Add an action and then search for Microsoft Forms. You will see the action Get response details action.
From here, you’ll need to select the same Form Id that you used in the trigger. Then click on the Response Id text box, you’ll see the Dynamic content menu pop up:
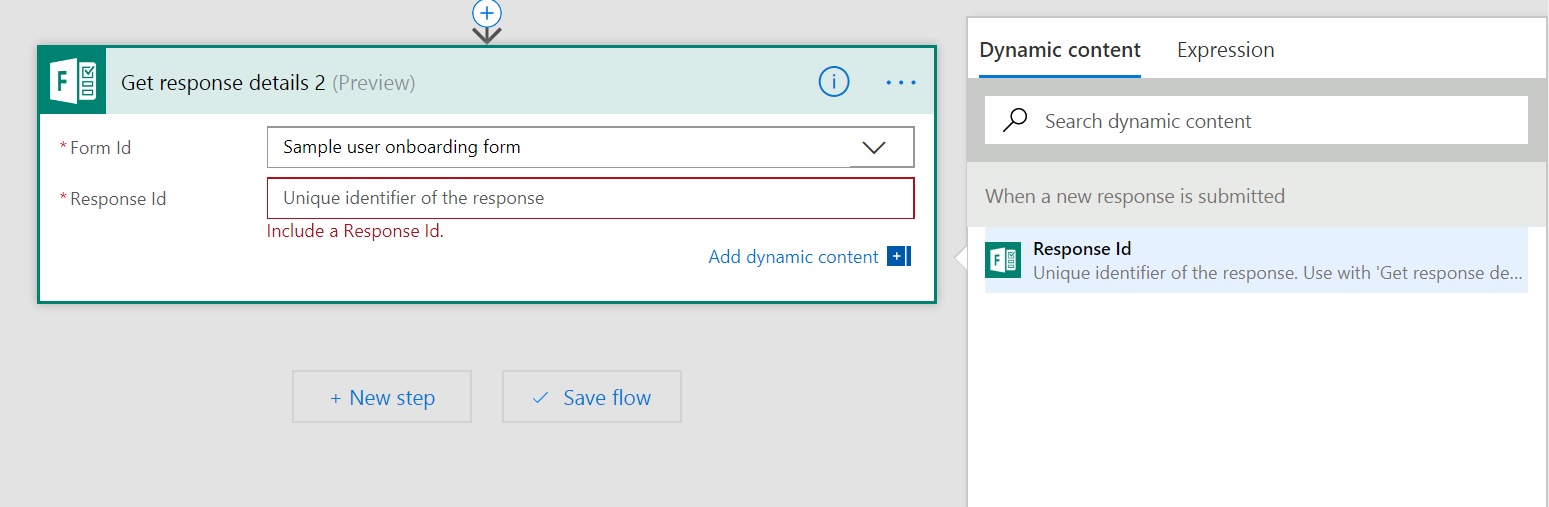
In the Dynamic Content section you will only be able to select one option. That is Response Id. Select this option, as it means that you’ll get the response details for the responses that caused the trigger. That means you will grab the response details from the last form submission.
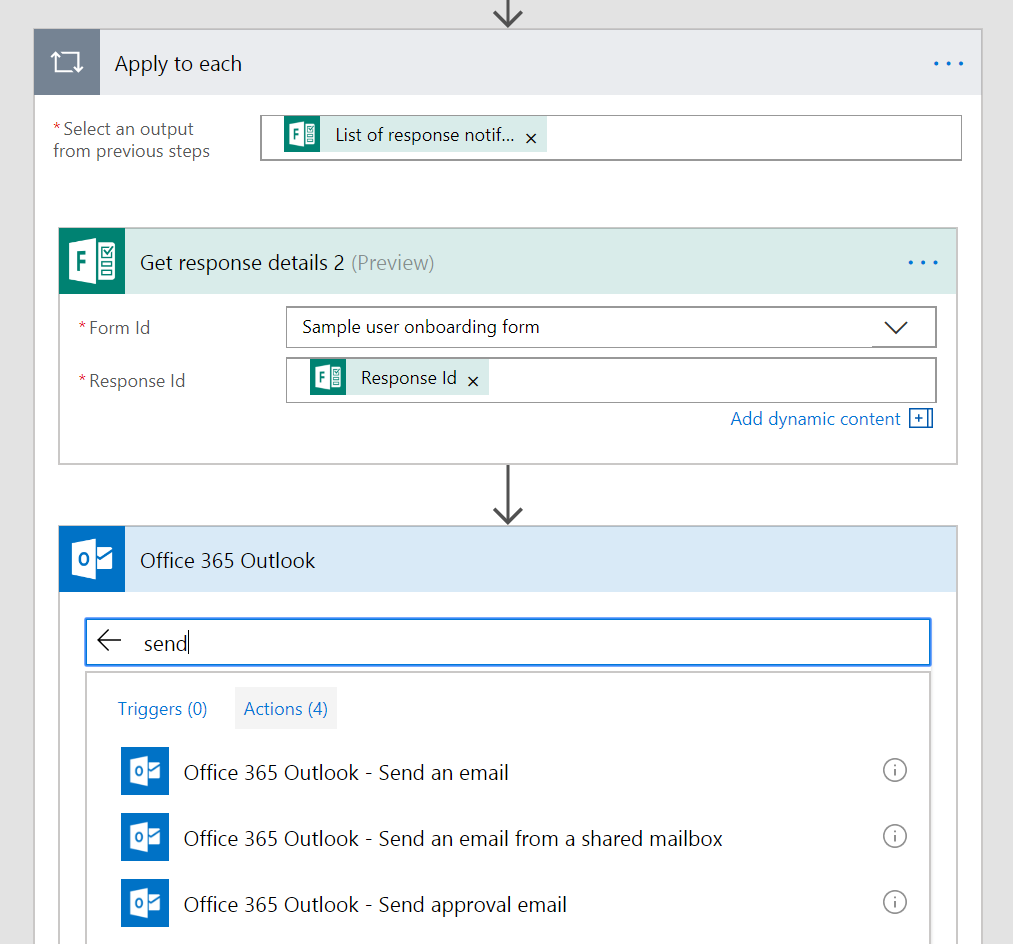
It is possible for there to be more than one response at a time, so the Response Id actually represents the list of responses. As a result, when you select this input you’ll get an Apply to each added around this action.
Adding other actions
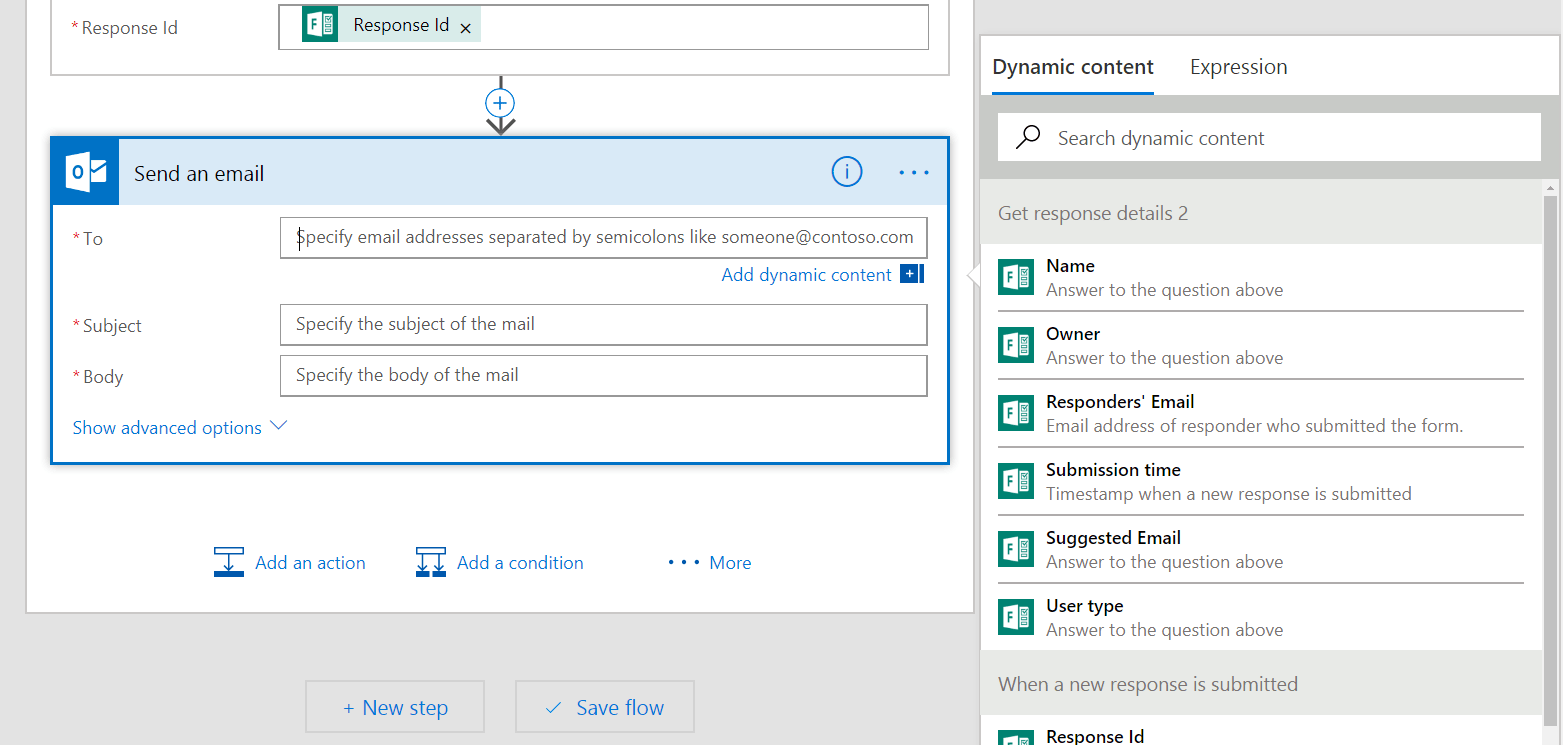
Any actions you create after the Get response details action should be inside of that same Apply to each container. We like the Send an email action:
Now, when you configure this action you should see the Add dynamic content menu appear and you will see the list of each of the fields that your form has. Use these fields to fill out a customised email, add data to a spreadsheet, or any of the hundreds of different actions that Microsoft Flow supports!
So now when a form is submitted an email with the response is automatically sent to the responsible contact!
We hope this tutorial has been helpful in demonstrating how to integrate Microsoft Forms with Flow. To learn more about Flow and other Office 365 apps check out the our Office 365 Courses, we continue to develop new courses to keep up with the pace of changing technology.
 phone
phone
 email
email
 enquiry