In the age of the mobile phone why are we still using business cards?
I say the business card is dead and it’s time to move on to bigger and better things…Like creating a flow to manage your business connections. Connect with people, share your brand discover opportunities. In this flow we will be gathering a persons name and email address along with some brief notes, adding that to a SharePoint list and then sending them a personalized email 4 hours later.
Before we begin this flow make sure to have the following:
- A SharePoint List with 4 fields – First Name | Email Address | Date | Notes
- A Mailchimp account with a mailing list ready
- A Microsoft Flow account logged in and ready to go!
If you have all that set up, then let’s dive in!
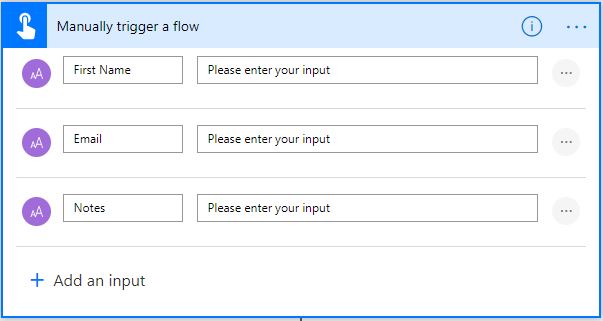
- First from the https://flow.microsoft.com site, click on My Flows and + Create From Blank then Search from hundreds of connectors and triggers and lets search for Manually Trigger a Flow – select it, and then add three text inputs. First Name, Email, Notes, Like below:
- Make sure to add a notes section to jog your memory when looking at their contact in the future.
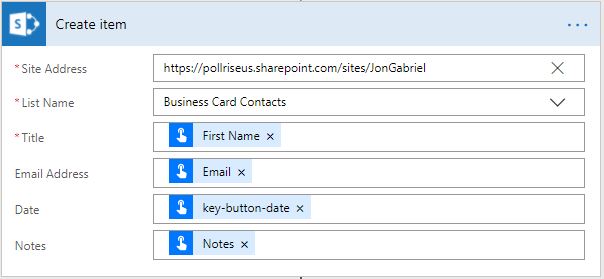
- Next, click New Step and then Add an action – search for SharePoint Create item and then connect to your SharePoint site and your list you created before we started, and then click on the fields and fill them in with Dynamic content like here:
The above steps focus on setting up the capture for the connection’s information. The following steps will focus on sending them a follow up “nice to meet you” email.
- Click New Step and Add an action and type
- We are going to create a simple expression that grabs the current time and adds 4 hours. To do that use the expression “addHours (utcnow(),4)”
- Click New Step and Add an action search for Delay Until and then use Dynamic Content Output from the Compose above.

- Click New Step again, and Add an action. This time search for Send an email and choose your mail client (i.e. Gmail, Outlook)
Here is an example of what you may write: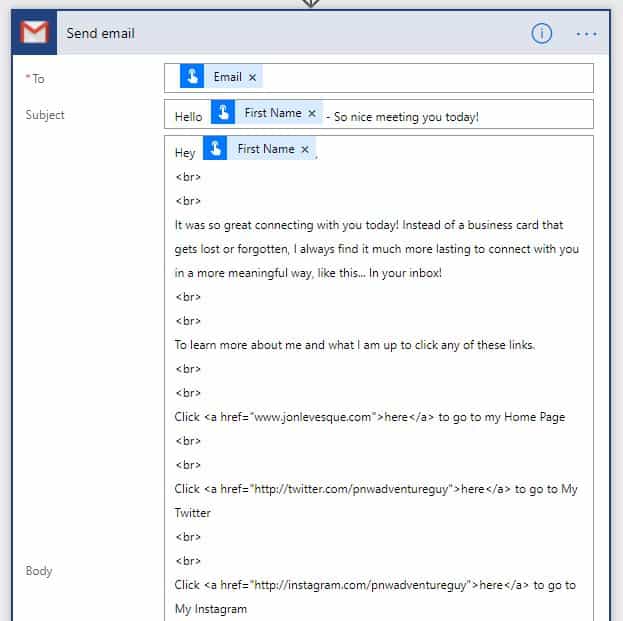
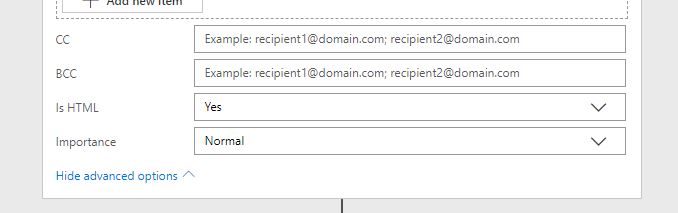
- If you are using Gmail make sure to head down to the bottom of the Gmail action and open the advanced options. Set Is HTML to Yes to ensure all HTML code is displayed correctly.
- Finally, lets click New Step and Add an action and search for Add member to list for Mailchimp. Once chosen, select your List ID, the status of the person in your list, and then some info for the list.
- To finish off, Name your Flow at the top and then click Save Flow.
We are done! You’ll be streamlining your career progression in no time. To learn Microsoft Flow, check out our Power Automate course.