Our essential guide to Adobe Premiere Pro is designed to equip you with key understanding and skills for impeccable editing. Get ready to dive into importing media, precise editing, audio enhancements, and visual effects, all while maintaining a seamless workflow. This guide ensures that you navigate through Premiere Pro’s extensive capabilities with confidence, making it an indispensable resource for your video editing journey.
Discovering Adobe Premiere Pro
Adobe Premiere Pro is a titan in the video editing industry. Renowned for its capabilities and integration with Adobe’s Creative Cloud, it’s the tool of choice for many filmmakers and content creators worldwide. Whether you’re creating a short film, a YouTube video, or a business presentation, Premiere Pro provides a comprehensive suite of tools to help you tell your story.
With its familiar nonlinear editing interface, you’ll feel right at home as you delve into a feature-rich ecosystem that includes everything from robust video editing tools to a recovery mode that mitigates work loss due to crashes.
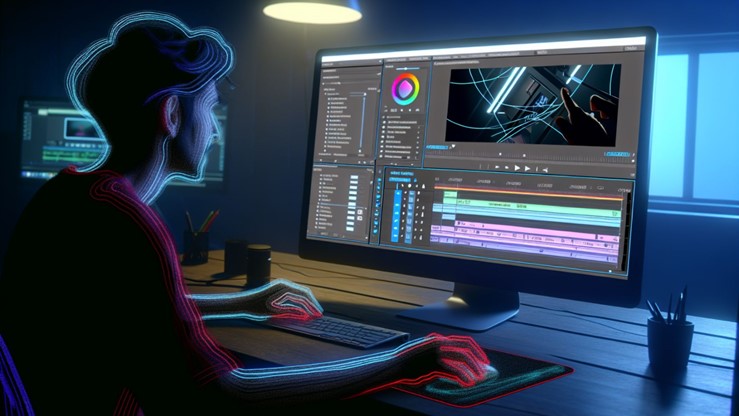
Understanding the Premiere Pro Workspace
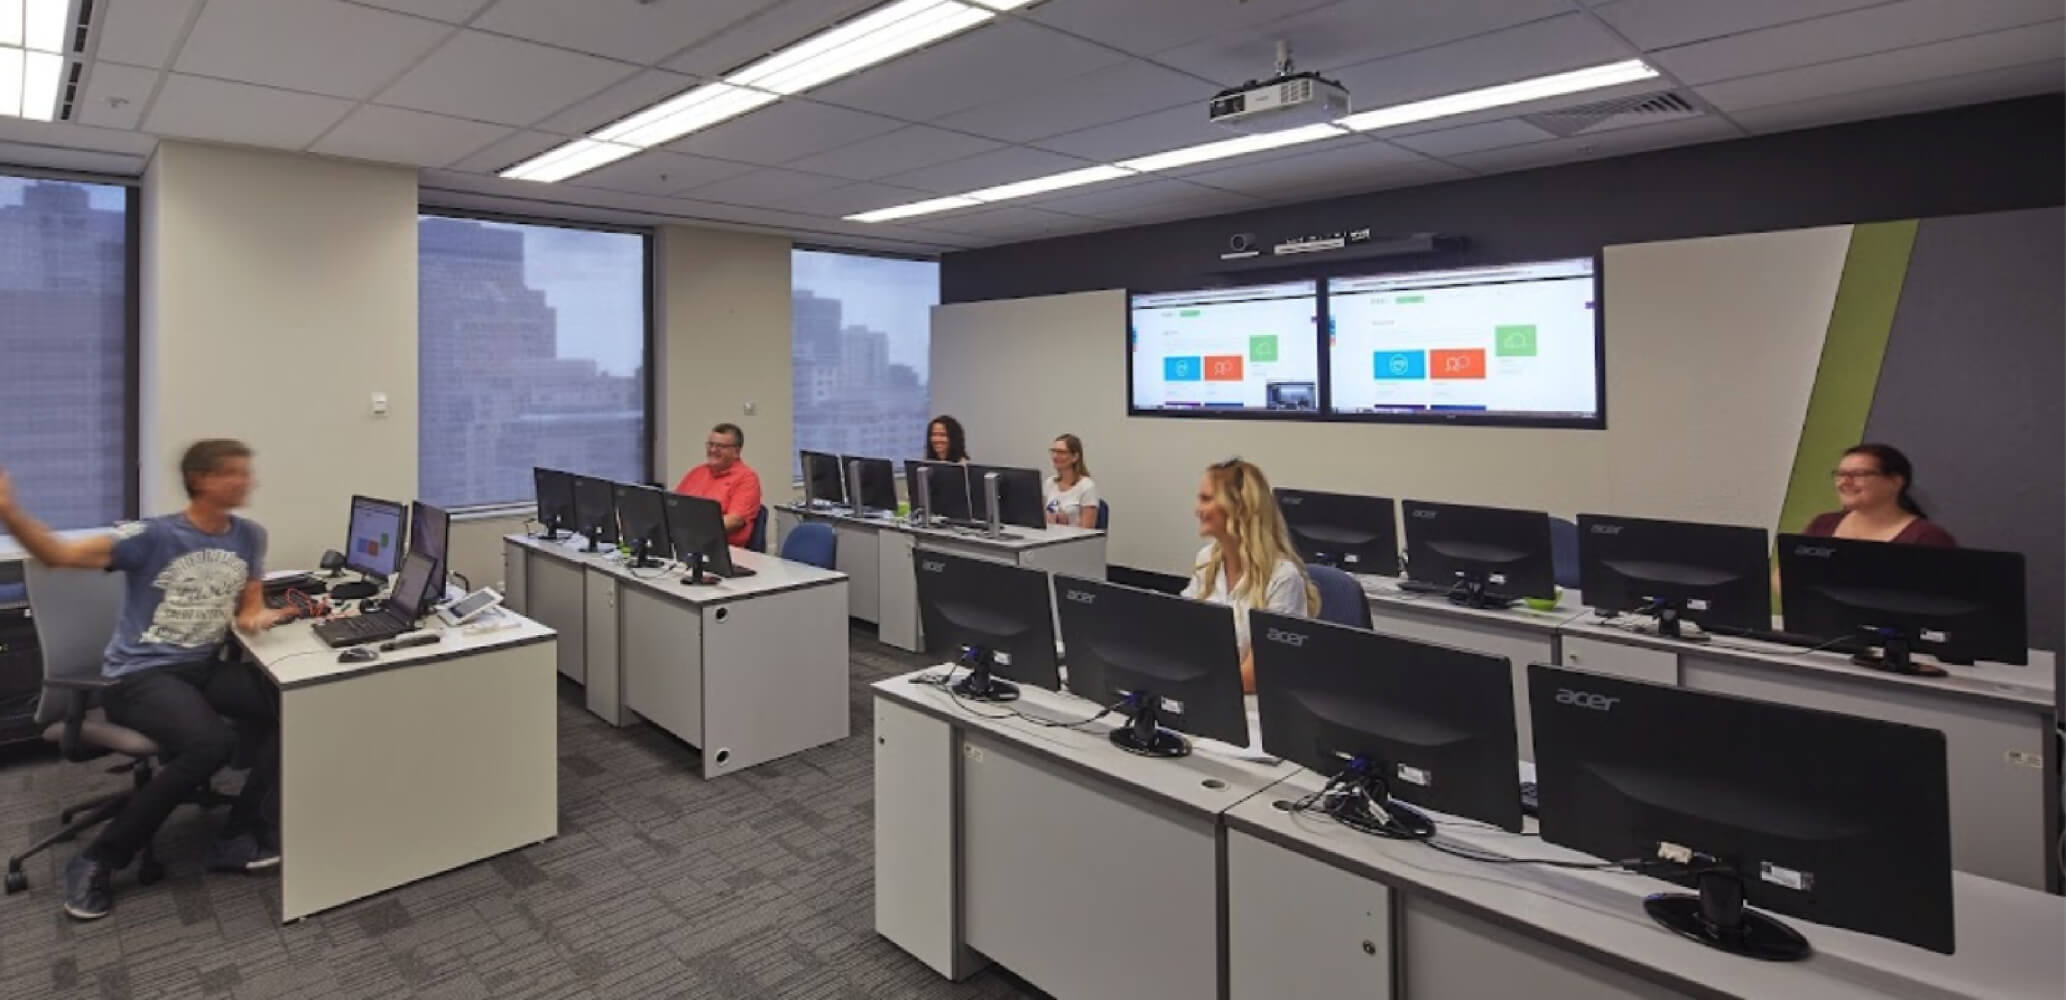
The Premiere Pro workspace is an editor’s playground. Comprising multiple default workspaces designed for various tasks, it allows you to customise your environment to fit your workflow. You’re not just restricted to a single screen either.
With the ability to extend the workspace across multiple monitors, you can keep your main editing area clutter-free while maintaining easy access to your tools.
Setting Up Your First Project
When embarking on a new project in Premiere Pro, you’re setting the foundation for your entire workflow. Naming and specifying the location of your project is vital, as it ensures that your files remain organised and accessible. You’ll also need to select the correct sequence preset to match the type of assets being used, optimising performance and reducing potential rendering times.
Importing and Organising Media

Premiere Pro provides numerous tools for importing and organising different types of media, from video and audio to still images. This allows you to maintain a tidy workspace where your files are easily accessible, ultimately streamlining your video editing process.
Batch Importing Files
Batch importing is an efficient way to bring multiple files into your project at once. By selecting multiple files from the import dialog box, you can import an entire folder’s contents with just a few clicks. This method saves you the time and effort of importing files individually, allowing you to focus on the creative process.
Utilising Bins for Organisation
Bins in Premiere Pro serve as handy organisational tools, allowing you to sort your project content by type, such as videos, still images, or audio. You can also customise your bins’ default behaviours, making your workspace intuitive and tailored to your editing style.
Crafting Your Story: Editing Basics
Editing is where your story truly comes to life. In Premiere Pro, a sequence is a combination of clips that include at least one video track and one audio track. Every project can contain one or more sequences, each with different settings, enabling you to edit multiple types of footage or media within the same project.
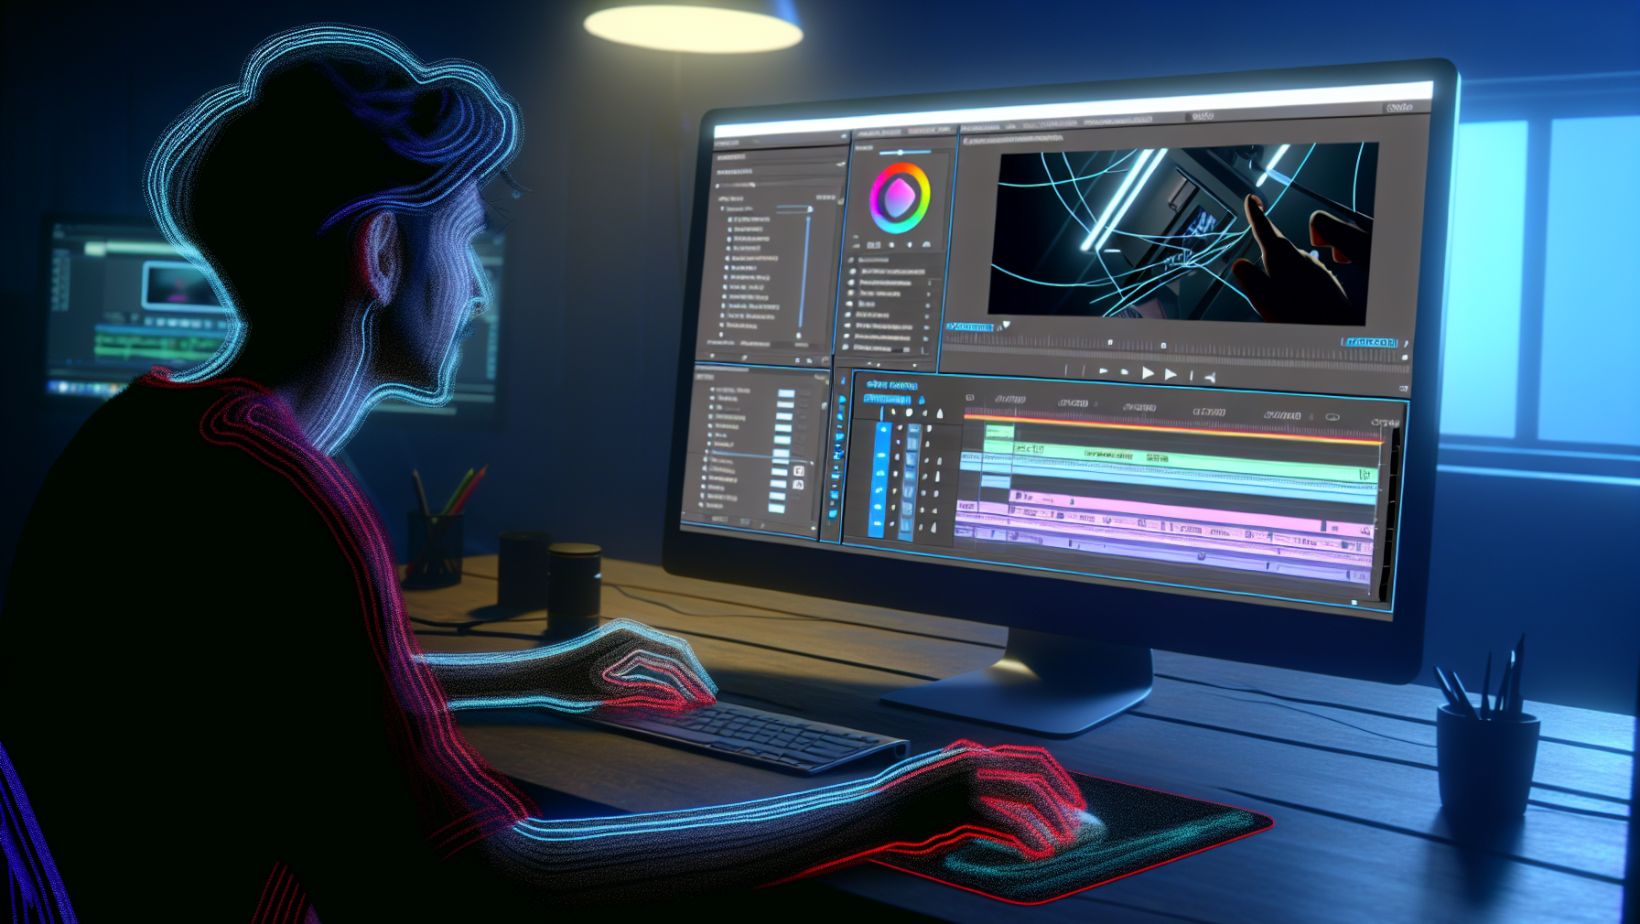
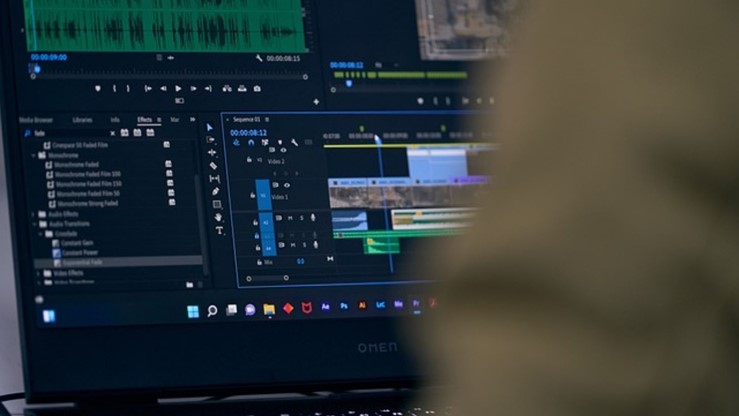
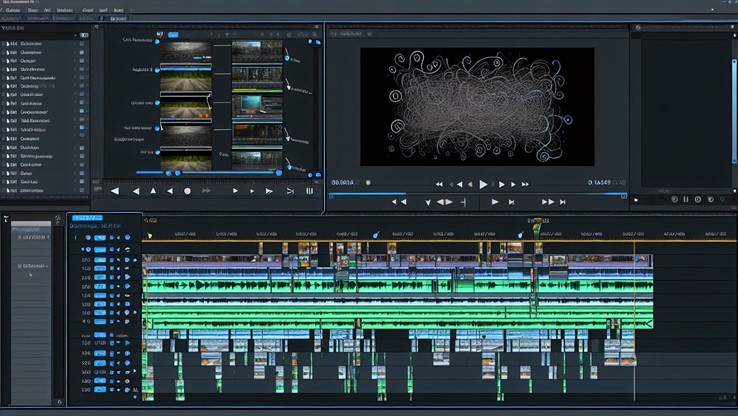
The Art of the Timeline
The timeline is the heart of the editing process. It’s where you arrange your clips, apply transitions, and fine-tune your sequence to tell your story. Premiere Pro offers a variety of tools to help you navigate your timeline, from zoom controls and time rulers to clip locking and track headers.
Essential Editing Commands
A true editor is a master of their tools, and Premiere Pro provides a wide range of editing commands and shortcuts to streamline your editing process. From simple operations such as undo and redo to complex tasks like ripple delete, these tools are essential to a smooth and efficient workflow.
Enhancing Audio in Your Videos

Quality audio is just as important as quality video. Premiere Pro is equipped with an Audio Track Mixer that offers detailed control over audio tracks for audio editing and mixing, as well as the application of effects. With this tool in hand, you can ensure that your audio enhances your visuals, rather than detracting from them.
Cleaning Up Audio Tracks
Cleaning up your audio tracks can drastically improve the quality of your videos. Using Premiere Pro’s ‘Repair’ section in the Essential Sound panel, you can:
-
Reduce noise, rumble, and hum in your audio tracks
-
Use the ‘DeNoise’ effect to diminish unwanted background noise
-
Use the ‘DeReverb’ effect to reduce echo
By utilising these features, you can ensure that your audio clips are clear and professional-sounding.
Adding Music and Sound Effects
Sound design can greatly enhance the viewing experience. In Premiere Pro, you can add sound effects and background music to create an immersive audio environment. Whether you’re recording your own sounds or licensing them from sound effects libraries, these audio elements can be crucial in setting the mood and tone of your video.
Visual Effects and Color Correction
Visual effects and colour correction are powerful tools in video editing. Premiere Pro, as well as Premiere Elements, offer a plethora of built-in video effects and colour correction tools, including:
-
Blur effects
-
Distortion effects
-
Transition effects
-
Colour grading tools
-
Colour correction tools
These video editing software tools allow you to enhance your video clips, creating a visually appealing final product with the help of a skilled video editor. Additionally, managing your video files becomes a seamless process.
Applying Video Transitions and Effects
Video transitions and effects can add a professional touch to your videos. In Premiere Pro, you can apply a variety of transitions and effects from the Effects panel and customise them in the Effect Controls panel. With 47 transition options available by default, you have a wide range of choices to enhance your video.
Mastering Color Grading
Colour grading is an art unto itself. With the Lumetri Color panel, Premiere Pro offers a comprehensive set of colour grading and correction tools. Some of the key features include:
-
Adjusting white balance and exposure
-
Managing saturation and contrast
-
Applying creative color effects
-
Fine-tuning shadows and highlights
-
Matching colours between shots
With these tools, you can create visually stunning footage that conveys your desired mood and tone.
Dynamic Titles and Graphics
Titles and graphics play a crucial role in video editing, serving as a bridge between the viewer and the content. Premiere Pro’s Essential Graphics panel enables you to:
-
Create and manage dynamic titles and graphics
-
Customise the appearance and animation of your titles and graphics
-
Easily update and modify your titles and graphics throughout your project
Using the Essential Graphics panel can take your project to the next level.
Building Custom Titles
A title can set the tone for your entire video. With Premiere Pro’s Titler tool, you can create custom titles that reflect your video’s theme and style. Here are some features of the Titler tool that you can use to create captivating titles:
-
Font choices
-
Text effects
-
Alignment tools
-
Colour options
With these options, you have everything you need to create captivating titles.
Incorporating Adobe Stock Assets
Adobe Stock offers a vast library of professional-grade assets that can be incorporated directly into your projects. From graphics and templates to high-quality video footage, these assets can enhance your video and save you time.
Exporting and Sharing Your Creation
Once you’ve completed your video, it’s time to share your creation with the world. Premiere Pro supports various export formats and offers a range of output targets, from social media platforms to online services.
Understanding Export Settings
Export settings play a critical role in determining the quality and file size of your final video. Premiere Pro supports various export formats, each catering to different distribution needs. By adjusting the bitrate and selecting the appropriate codec, you can optimise video quality and manage file sizes effectively.
Utilising Media Encoder for Efficient Output
Adobe’s Media Encoder is a powerful tool that expedites the export process. It allows for parallel rendering of multiple outputs, saving you time when exporting large projects or multiple files.
With its detailed feedback and customisation options, Media Encoder ensures that your exported video meets your desired specifications.
Advanced Techniques for Pro Editors
Even experienced editors can learn new tricks with an Adobe Premiere Pro tutorial, especially when it comes to Premiere Pro video editing. Premiere Pro offers advanced techniques to edit videos, such as stabilisation and multi-camera editing.
Multi-Camera Editing Workflow
Multi-camera editing is a powerful technique for synchronising and editing multiple angles of the same scene. By creating a Multi-Camera Source Sequence, you can quickly switch between angles and fine-tune your synchronisation for an intricate editing workflow.
Utilising Third-Party Extensions
Third-party extensions can greatly enhance Premiere Pro’s capabilities. By installing plugins and extensions from top developers, you can access additional tools and functionalities not available in the core features of Premiere Pro.
The Creative Journey Begins
From importing and organising media, mastering the art of the timeline, enhancing the audio, to adding visual effects, Adobe Premiere Pro offers a comprehensive platform for video editing. With its advanced features and seamless integration with Adobe Creative Cloud, it enables you to transform raw footage into a compelling narrative.
Now that you’re equipped with the knowledge and skills, it’s time to start your video editing journey with Premiere Pro. Whether you’re a beginner or a pro, there’s always something new to learn.
You can enrol in Premiere Pro courses with us at City Desktop, starting with the Basics. So dive in, explore, and let your creative skills shine.
Frequently Asked Questions
Is Adobe Premiere Pro good for beginners?
Adobe Premiere Pro may be challenging for beginners with no prior experience in video editing or the Adobe Creative Cloud. It's important to have basic computer skills and knowledge of video editing terminology before learning Premiere Pro.
Can I learn Adobe Premiere Pro basics in 3 days?
Yes, you can learn the basics of Adobe Premiere Pro in 3 days if you dedicate at least 12 hours to learning the basic skills. Good luck!
What are the five editing basics in Adobe Premiere Pro?
In Adobe Premiere Pro, the five basic editing steps are importing footage, creating a sequence, adding a title, adjusting audio, and exporting to YouTube. These steps are essential for starting your video editing process.
How do I import media into Adobe Premiere Pro?
To import media into Adobe Premiere Pro, use the import command to support various file formats and utilise the Media Browser panel for batch importing and file previewing.
How do I clean up audio tracks in Premiere Pro?
To clean up audio tracks in Premiere Pro, use the 'Repair' section within the Essential Sound panel to reduce noise, rumble, and hum, and utilise the 'DeNoise' and 'DeReverb' effects to diminish unwanted background noise and echo.