Adobe InDesign 2025 Updates: AI Features, Flex Layout, HTML5 Export, and Power Workflows
InDesign has quietly levelled up from “print layout workhorse” to a far more flexible, AI-aware hub for modern publishing. The 2025 updates focus on layouts that adapt themselves, smarter image tools powered by Adobe Firefly, easier reuse of designs across print, web and cloud, and better accessibility and maths support for long-form content.
Whether you’re designing brochures, tenders, textbooks or campaign assets, these changes can save serious time. This guide walks through the key features, everyday workflows, and how Nexacu training helps your team actually use them in real projects.
Table of contents
Big picture: what’s changed in InDesign recently
Over the last few months, Adobe has turned InDesign into more than just a “print layout app.” Recent updates focus on three big things: helping layouts adapt automatically when content changes, letting AI handle some image work for you, and making it easier to reuse and share your designs across PDF, web, and cloud-based workflows.
For everyday users, that means less pixel-pushing and more time actually working on content. You can fix last-minute text edits without breaking your layout, stretch images to new sizes without opening Photoshop, and even turn a PDF into an editable InDesign file instead of rebuilding it from scratch.

Flex Layout: layouts that bend instead of break
Think of Flex Layout like “smart frames” that understand how to shuffle and resize things when text or images change. Instead of manually nudging boxes around every time you get new copy, you tell InDesign how items should behave, and it does most of the grunt work for you.
You can control direction, alignment, spacing, and how child items sit inside a container, so if a heading runs longer or an image changes, the layout adjusts automatically while still looking neat and tidy.
Everyday examples
• Marketing flyers where headline length changes between versions.
• Multi-language layouts where some languages run longer than English.
• Social tiles and posters that share the same overall structure but need small adjustments.
Simple starter workflow
1) Set up a main container frame for a section (e.g. image + heading + blurb + button).
2) Turn that frame into a Flex Layout container and set the direction (vertical or horizontal), gap, and alignment.
3) Duplicate this unit across your pages and let Flex handle spacing when content grows or shrinks.
AI superpowers: Generative Expand and Text to Image
InDesign now borrows some Firefly-powered magic from Photoshop so you can manipulate images without leaving your layout.
1 Generative Expand: “Make this image wider, please”
Generative Expand lets you extend an image beyond its original borders. InDesign looks at what’s in the picture and fills in believable background or extra room around your subject when you resize.
This is perfect when:
• You drop a landscape image into a cover and realise you actually need a slightly taller format.
• A client suddenly wants a banner version of a hero image and you don’t have time for a full retouch.
Quick tip: Keep your subject roughly centred and let Generative Expand build out extra background around them. It tends to work best with skies, walls, fields, and other simple environments.
2 Text to Image: “Describe it, get a picture”
Text to Image lets you type a prompt (“a modern office desk with a laptop and coffee mug, soft light”) and get AI-generated image options right inside InDesign.
You can go further with advanced options: adding a reference image for style consistency and applying style effects so the results feel more branded. The generated images are saved and linked so you can manage them in the Links panel like any other placed artwork.
Practical uses
• Mocking up early concepts without waiting on a photographer or stock approvals.
• Filling low-priority images in internal draft documents.
• Exploring visual directions with stakeholders before commissioning final artwork.
Brand safety tip: Use AI images as “concept art” or for non-critical internal work unless you’ve clearly decided how AI fits with your brand, legal, and ethical guidelines.
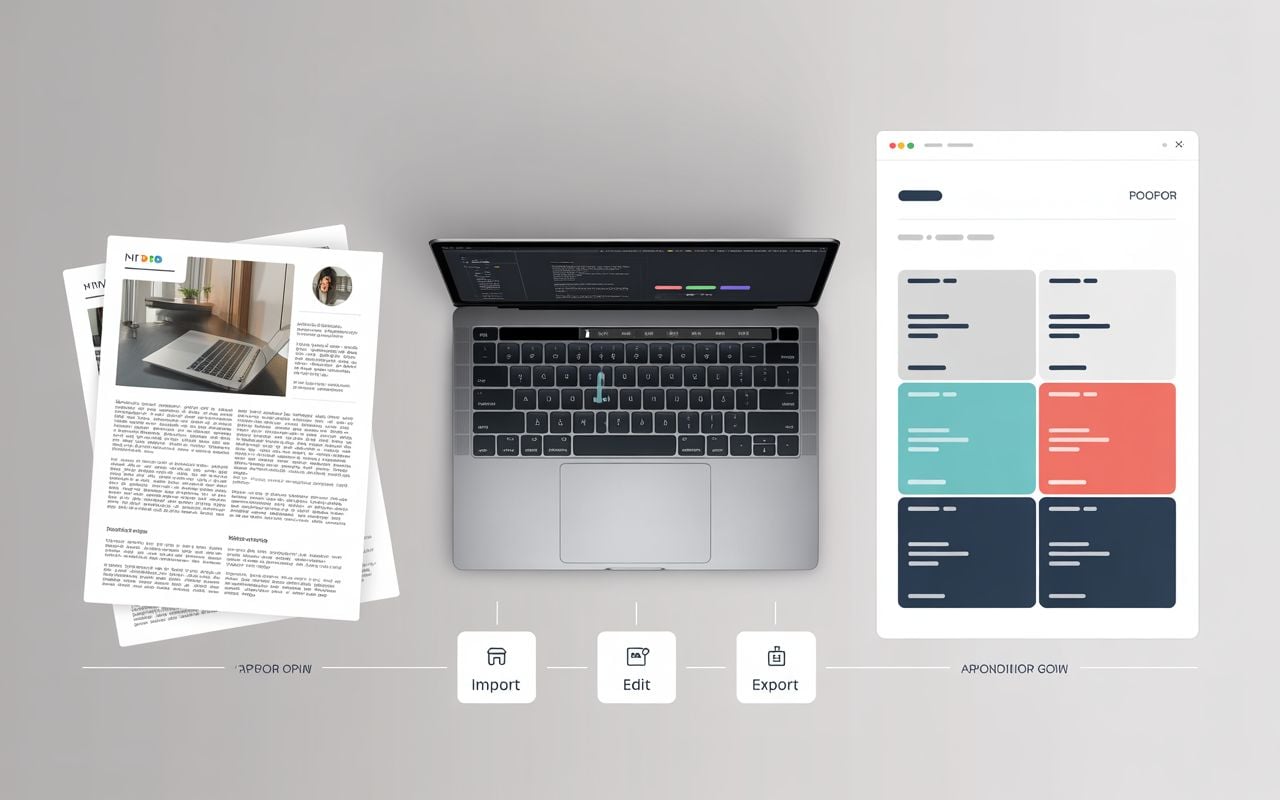
Turning PDFs into editable InDesign files
One of the biggest quality-of-life upgrades: you can open a PDF and convert it into an editable InDesign document while keeping fonts, colours, paragraph styles, tables and many original details.
For most people, this means no more re-creating a brochure from scratch just because you don’t have the original source file. You can open the PDF, let InDesign convert it, then tidy it up and update the text and design.
Best-use scenarios
• Old marketing PDFs that need a refresh.
• Supplier / partner brochures you want to adapt to your own branding.
• Government or corporate forms that need updated wording but identical structure.
Cleanup tips
• Immediately clean up paragraph and character styles so you don’t end up with 50 near-identical styles.
• Replace any weird text boxes or rogue shapes with your standard components from libraries.
Math expressions made simple
If you work on textbooks, technical manuals or any content with equations, the new Math Expressions panel will feel like a lifesaver. You can now create, edit, and style equations directly on the InDesign canvas instead of relying on screenshots or external tools.
InDesign supports MathML, which means equations can be stored as structured maths, turned into scalable graphics, and made more accessible. You can also bring across editable equations from Word and style them to match your document.
Why it matters
• No more blurry equation images that don’t scale well.
• Easier global styling and updating when formulas change.
• Better accessibility and future-proofing for digital formats.
Workflow idea
• Build dedicated “Math heading” and “Math body” styles.
• Use one sample document with common equation types as your reference library.
• Copy/paste and adjust as needed so equations stay consistent across long publications.
HTML5 export: taking InDesign beyond print and PDF
HTML5 package export lets you turn an InDesign layout into web-ready content that can be hosted or integrated into websites and digital platforms. You can choose to export text as real HTML text (searchable, selectable) or as SVG when visual fidelity is more important.
This doesn’t replace a full website, but it’s incredibly handy for:
• Lightweight digital brochures or campaign landing pieces.
• Internal microsites or interactive summaries.
• Quick prototypes for stakeholders to view in a browser before development.
Practical tip: Use HTML text when accessibility and SEO matter (reports, articles, help content) and SVG for decorative or highly stylised titles that need to look exactly like the design.
Accessibility and screen-reader friendliness
Recent updates add more smarts around accessibility, including better handling of page breaks, tables, figures, and figcaptions so assistive technologies can explain layouts more clearly.
For users, this means exported EPUBs and digital PDFs can be more easily navigated by screen readers, with images and figure captions properly announced for context.
Good habits
• Always apply meaningful paragraph styles (Heading 1, Heading 2, Body, etc.).
• Add alt text to images and use accurate figure captions, not just decorative labels.
• Run at least one test with a screen reader before final sign-off on major documents.
Cloud documents, projects and sharing
On the collaboration side, InDesign has improved how you work with files in the cloud. You can create cloud documents, invite others to collaborate, and take advantage of 7-day syncing so your recent files stay accessible even if you go offline for a bit.
There are also new options for sharing documents via links and integrating with tools like Adobe Express, so stakeholders can make light edits without touching your master layout.
Audience-friendly explanation
• Designers use InDesign on desktop as usual.
• Managers or comms teams can open a simplified version in a browser or in Adobe Express, adjust text or images in locked templates, and send back for final polish.
• Everyone works from a single source of truth instead of emailing file versions around.
Smoother performance on Windows (especially with big files)
If you’re on Windows, GPU acceleration is a big behind-the-scenes upgrade. It speeds up zooming, scrolling and rendering, which you really feel when working on long documents with many high-resolution images.
For everyday users, the benefit is simple: less lag, less waiting, and fewer moments where InDesign feels like it’s about to freeze when you zoom into a busy spread.
Quick win: Check your InDesign preferences and make sure GPU Performance is turned on if your hardware supports it. Close other GPU-hungry apps (video games, 3D tools) while you’re doing heavy layout work.

Handy UI tweaks: Contextual Task Bar, Align to Bleed and more
Small interface changes often have big real-world impact because they touch tasks you do hundreds of times a week.
• Contextual Task Bar: A floating bar that shows you the most relevant actions for whatever you’ve selected (text, image, frame) so you don’t have to keep hunting through menus.
• Align to Bleed: You can now align and distribute objects to the bleed area, not just the page edge – great for edge-to-edge print designs.
• Lowercase icon: Quickly change text to lowercase from the Properties or Control panel without digging into menus.
User-friendly tip: Treat the Contextual Task Bar like a “mini toolbox.” Whenever you’re about to go up to the menu bar, glance at it first – you’ll often find the command you need sitting right next to your selection.
Security, stability and enterprise-friendly changes
Under the hood, InDesign updates also include crash fixes, print pipeline adjustments and support for the latest versions of Windows and macOS. Windows users in corporate environments also benefit from support for modern IPP print drivers and more secure printing paths.
If you’re in government, education or a regulated industry, these “boring” updates are often the most important, because they keep your layouts running smoothly on locked-down networks and updated operating systems.
Power workflows for everyday users
Here are some simple, plain-English workflows that non-experts can follow to make the most of the new features.
A. Updating an old PDF brochure
1) Open the existing PDF in InDesign and let it convert to an editable file.
2) Check fonts and paragraph styles, merging or renaming styles so they’re clean.
3) Use Generative Expand or Text to Image to replace outdated imagery.
4) Export a new print-ready PDF and a HTML5 package for web use.
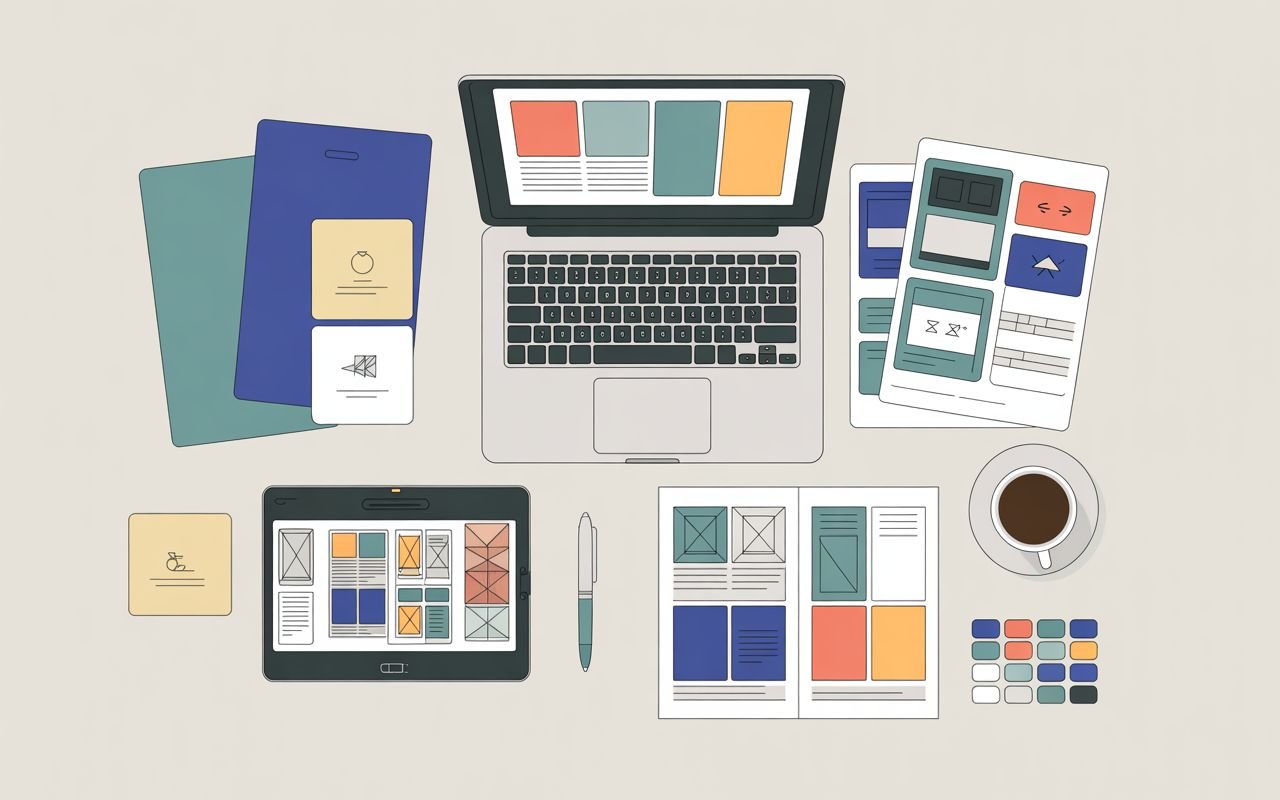
B. Creating multi-channel campaign artwork
1) Build a master layout using Flex Layout containers for key sections.
2) Duplicate spreads for each size (A4 flyer, DL, social tiles, email header).
3) Make content tweaks; let Flex handle the heavy lifting on spacing.
4) Export print PDFs, HTML5 for digital previews, and image assets for socials.
C. Making accessible digital reports
1) Set up a style system (Headings, body, lists, captions) before writing.
2) Insert images with alt text and proper figure captions.
3) Use Math Expressions where you need equations.
4) Export to accessible PDF or EPUB and test with a screen reader.
FAQs for normal users
Do I need to be a “power user” to benefit from these updates?
No. Even if you only make basic newsletters or flyers, small changes like the Contextual Task Bar, Align to Bleed, and GPU performance make your daily work smoother and less frustrating.
Is AI going to design my whole layout for me?
Not in InDesign. AI here mostly helps with images: expanding backgrounds and generating visuals from prompts. You still control the structure, branding and final design – AI just speeds up parts of the process.
Will HTML5 export replace my website?
Think of HTML5 export as a quick way to get a “web-friendly document,” not a full website. It is ideal for brochures, simple microsites or embedded content, but complex sites should still be built with proper web tools.
Is it safe to rely on PDF-to-InDesign conversion?
It’s usually very good, but not always perfect. For simple or medium-complex documents it saves heaps of time; for very complex layouts you’ll still want to check and tweak everything carefully.
Do I need special maths knowledge to use Math Expressions?
You still need to understand the formulas you’re putting in, but the tool itself is visual and panel-based. If you can copy a formula from Word and format text styles, you can work with it comfortably.
Why proper training makes these features really pay off
You can click around and discover some of this on your own, but the real productivity jump comes when you understand how all the pieces fit together – styles, Flex Layout, AI imagery, accessibility, HTML5 and collaboration. Short, practical training is often the fastest path from “I’ve heard of that” to “this saves me hours every week.”
Nexacu runs Adobe InDesign courses across Australia that focus on real-world layouts like reports, brochures, tenders, and marketing collateral, not just toy examples. Trainers can walk you through the latest features step-by-step, showing how Flex Layout, PDF-to-InDesign conversion, AI tools and HTML5 export fit into everyday workflows for teams in government, education and corporate environments.
If your team also uses Photoshop, Illustrator, Premiere Pro or other Creative Cloud tools, Nexacu’s broader Adobe training helps you join everything up into a smooth pipeline – from raw content and images through to final print, digital and web-ready outputs. That way, the newest InDesign features don’t just sit on the toolbar; they actively shorten projects, reduce rework and make your day-to-day life easier.
Reference links and further reading
For the most current and detailed information on Adobe InDesign 2025 features, check Adobe’s official documentation and release notes: